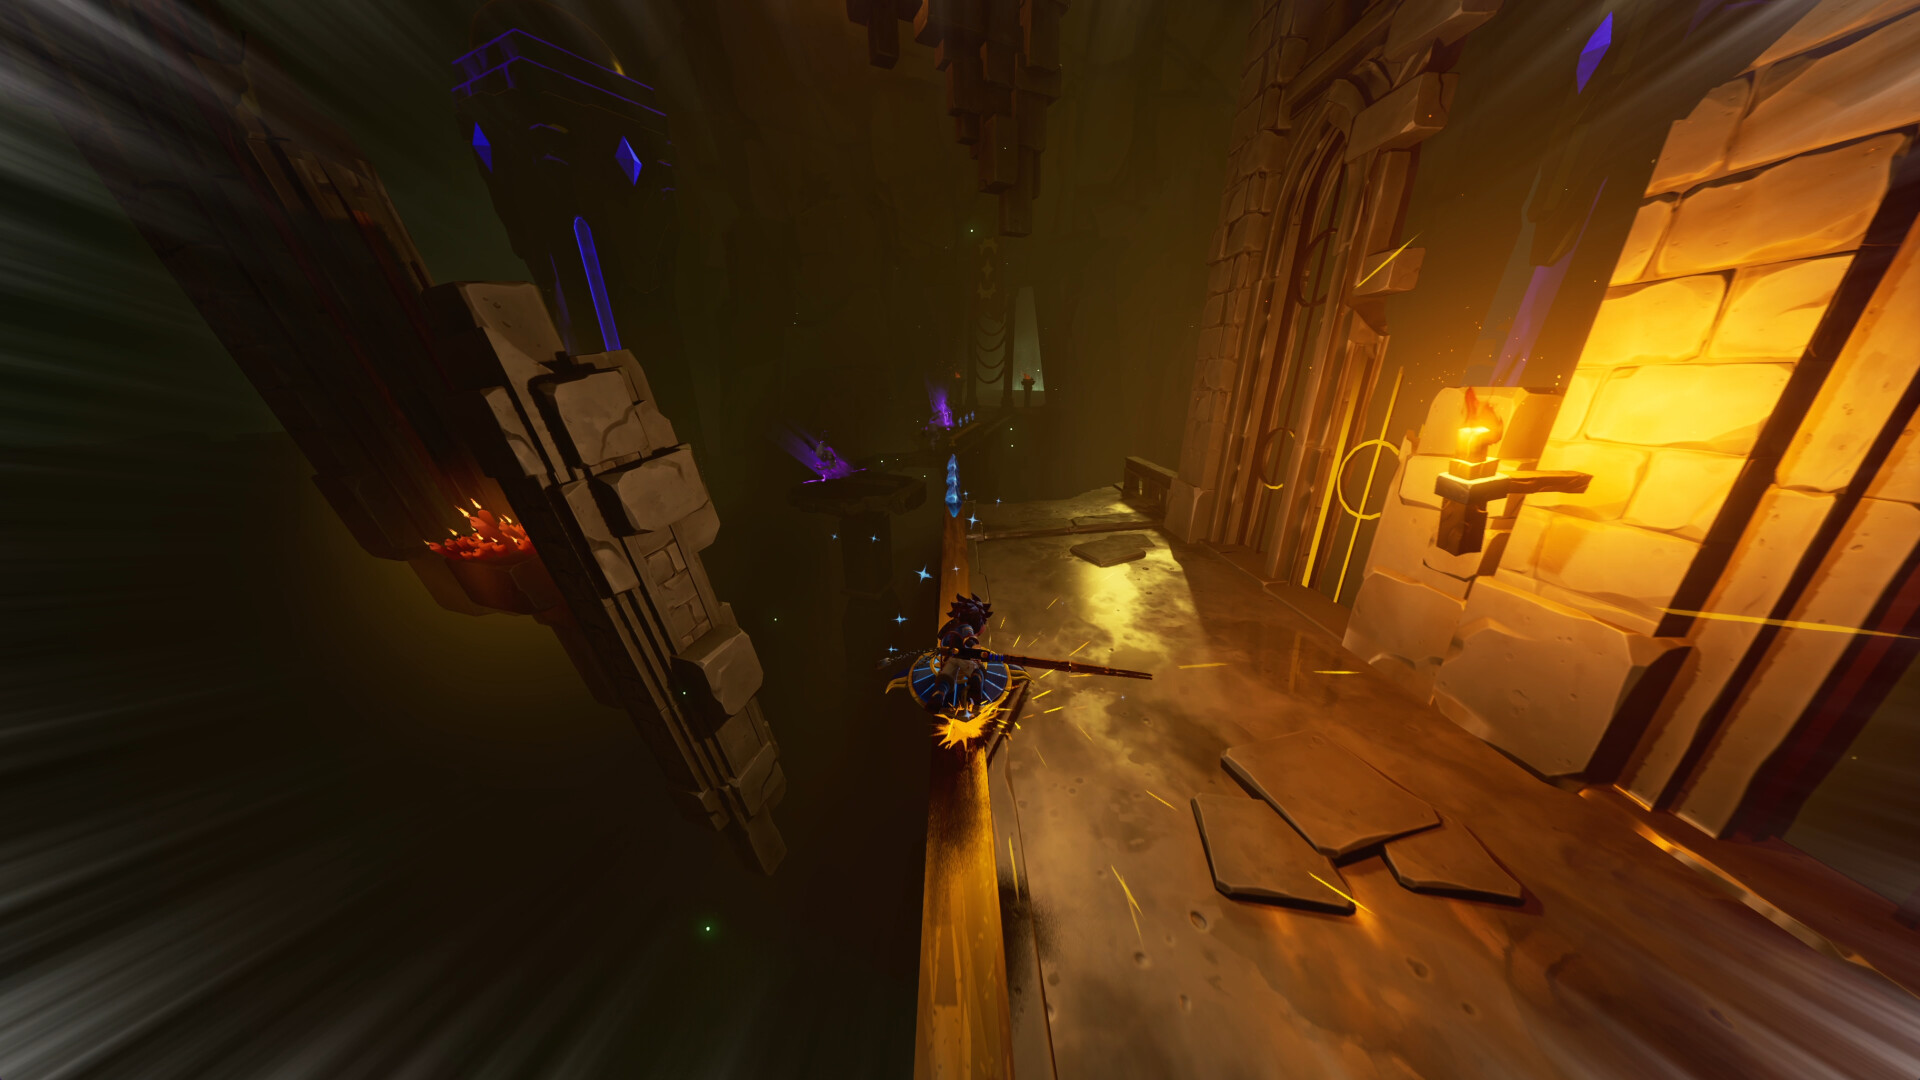
How to Beat Despair in Duskfade
Despair is the final boss of Duskfade. It is the force preventing Zirian from rescuing his sister Allira — the wall at the top of the Clock Tower. Every mechanic you drilled across the other four fights comes together here. Here is what we know and how to approach it.
Despair — Overview
Despair is the final boss of Duskfade. It appears at the top of the Clock Tower, the heart of Tearfeld and the place where Allira is held. Despair represents hopelessness — the crushing certainty that you will not reach the one you love in time.
Where the other bosses each weaponize one feeling, Despair combines them. It is reported as a multi-phase finale at the top of the Clock Tower that tests everything you learned across the four paths — positioning, traversal, and punish timing — with little room to get stronger before you walk in. The fight is rated Very Hard. This is the test of everything.
Despair — Phases & Attack Patterns
Despair is the finale, and it combines every boss before it. Early phases echo the tools the earlier bosses taught you — positioning against wide swings, climbing out of arena hazards, and breaking the boss out of a shielded state — before Despair’s own hopelessness closes in. The time-freeze dodge works through every phase; it is the one tool that functions when the clock itself seems to stop. Upgrade fully and stock Clock Heart Pieces before you climb.
Phase 1 — Wrath’s Echo
- Fury Flurry — a rapid multi-swing combo straight from the Wrath fight. Time-freeze the last swing, then punish the long recovery.
- Emberswell — a ground-fire patch that expands outward. Keep to the rails and grapple over it rather than rolling through.
Phase 2 — The Weight
- Grief Cage — chains of slowing cages drop around Zirian. Break them with a Blast Attack before they stack and pin you.
- Tide of Tears — a slow wave that drains movement speed on contact. Freeze it mid-air and slip underneath.
Phase 3 — The Dark
- Mirror Strike — decoy copies return; only the gold-glowing real Despair connects. Wait for gold.
- Dread Pulse — a ring shockwave triggered by panic-inputs. Hold your combo through the wind-up, then strike.
Phase 4 — The Grasp
- Snatch — Despair steals your gadget and uses it. Freeze to interrupt, then reclaim during recovery.
- Closing Fist — the arena shrinks. Stay mobile on the remaining rails to avoid the grab.
Phase 5 — The Final Hour
- Frozen Clock — Despair briefly disables your time-freeze. Do not panic; rely on plain rolls and Cuckoo distractions until it returns.
- Last Tick — a massive final surge. Spend your remaining Chronoblast and time energy here, then unload everything into the core to free Allira.
This five-phase map is based on early finale clears and is still being tightened as more players beat Despair. Found a timing that works? Share it on the Boss Guide. For the rest of the route, see the full Boss Guide.
General Boss Strategy (All Five)
- Master the time-freeze dodge first. A well-timed roll stops time briefly, giving you free hits on a frozen enemy.
- Short chains over long combos. Most bosses punish players who keep attacking after a safe opening ends.
- Use the environment. Hook-shot points and rails are not just traversal — they are part of several boss phases.
- Upgrade before you fight. Spend Upgrade Gears on Zirian and Cuckoo, and collect Clock Heart Pieces (3 = +1 health) before tough fights.