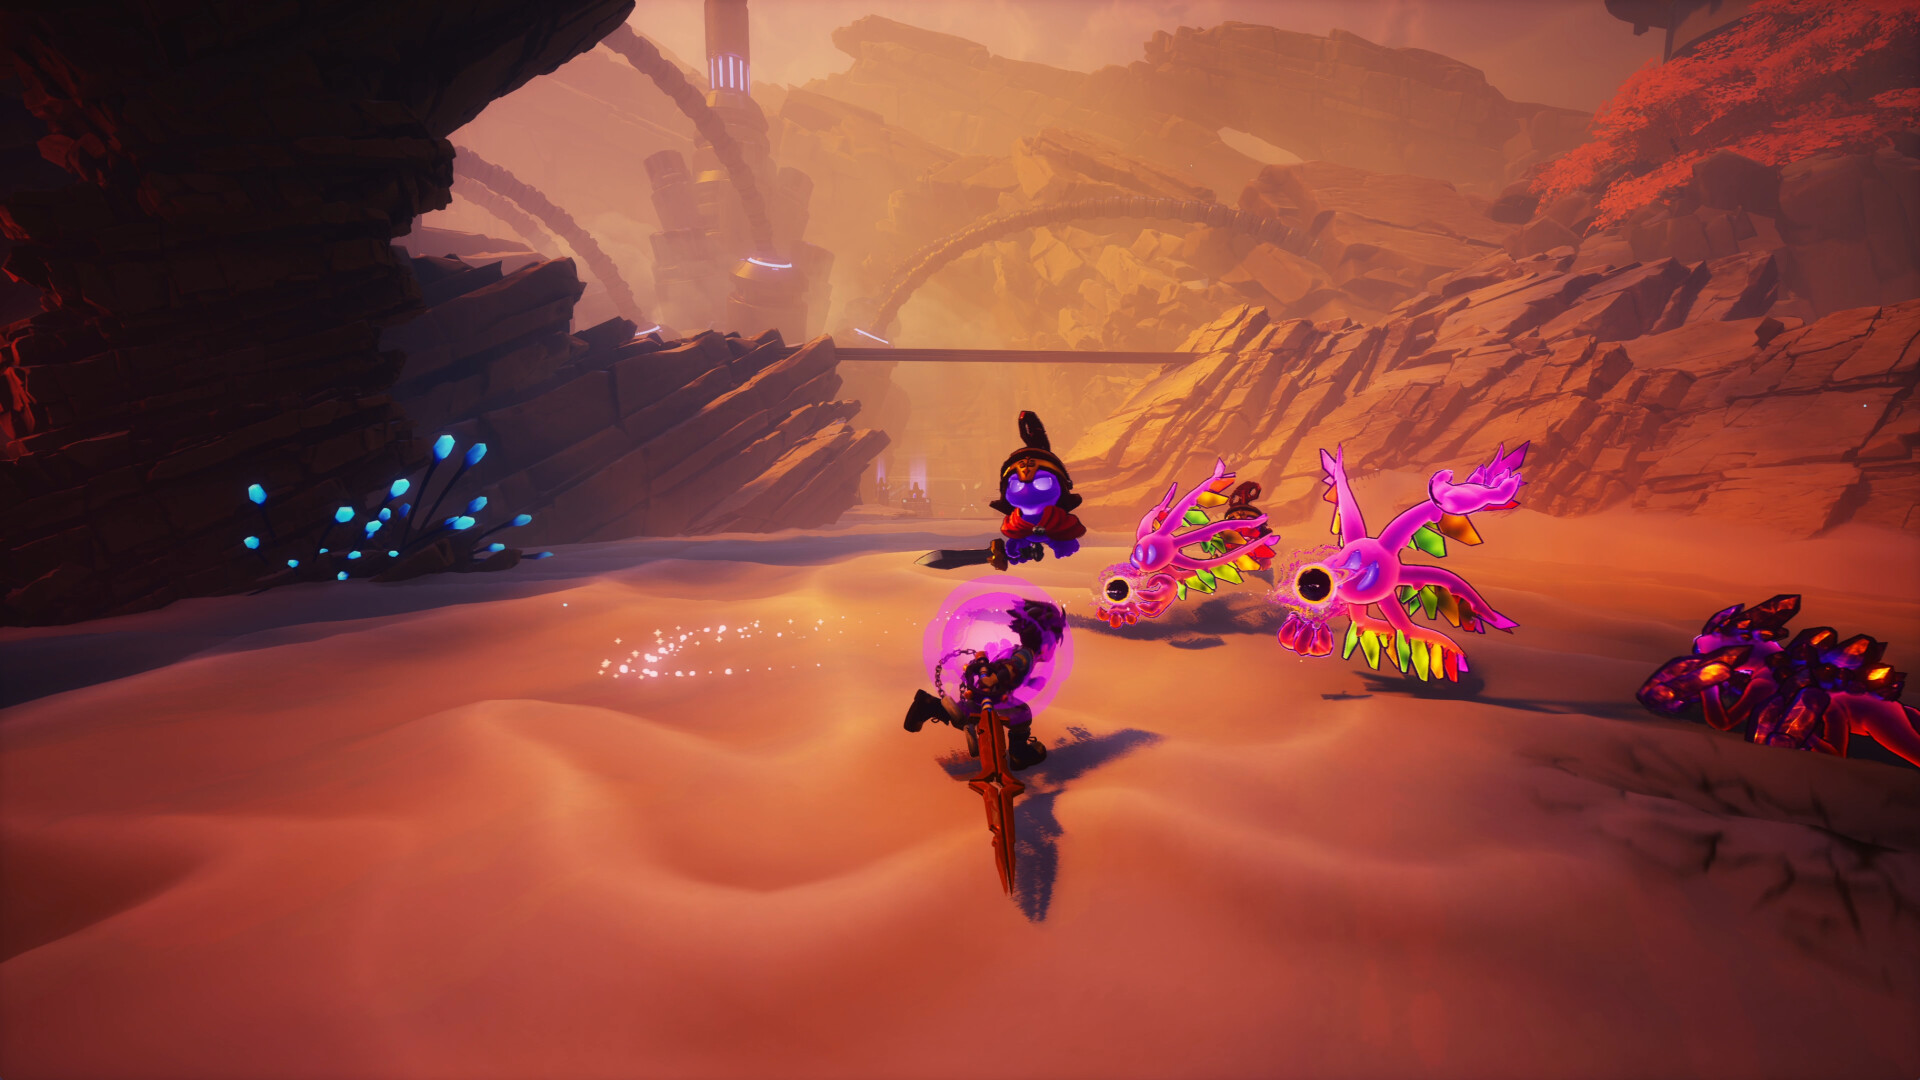
Walkthrough: Demo & Full Game
The demo covers the opening hour — Tick Town outskirts, a magical forest, ancient clocktower ruins, and the Wrath boss. Here's a step-by-step guide, plus the full game region structure (the full game has been out since Aug 13, 2026).
Game Structure Overview
Duskfade is structured around four paths, each leading to one of the four chains that lock the Clock Tower. With Tick Town as your hub you cross roughly 20 named regions of Tearfeld, plus an opening mission and a long final encounter at the tower itself.
| Stage | Regions (story order) | What Happens |
|---|---|---|
| Tick Town (hub) | Tick Town | Home base. The Traveler, Arpeggio and Tailord all live here — come back often to spend. |
| Volcano Path — Chain 1 | Ezorus Forest → Scorched Grove → Starstone Mines → Mount Cinder → Howling Geode → Prison of the Beast | Beat Wrath, then Guayota to break the first chain. |
| Sea Path — Chain 2 | Meridian Village → Lantern Port → Canal Hamlet | Lantern Port starts as a colourful seaside town, then descends beneath the waves. |
| Academy Path — Chain 3 | Clockwork Academy → Apprentice’s Wing → Craftman’s Wing → Great Library → Scriptorium of the Twelve | Find the Clockmaking Academy and help Tailord escape. |
| Sky Path — Chain 4 | Celestial Kingdom → Royal Highroads → Auric Palace → Velled Chambers → Deepthorne | Floating ruins, hedge mazes and the heights above Tearfeld. |
| Endgame | Stonetusk Canyon → Clockmaker’s Rest → Desert of the Last Memory → Chronos Aeternum | The desert and the run-up to the tower. |
| Clock Tower | The Tower | Final boss Despair, the ending, and the post-credits scene. |
See the 100% Completion Guide for the full region-by-region checklist.
Each area is designed as a single, complete region — not broken up into small chunks. You can look around and discover the way forward, alternative paths, and well-hidden secrets. The regions loop back on themselves Metroidvania-style, with routes you can only reach using abilities gained later.
Demo Walkthrough (Part 1: Tutorial)
1. The Opening
The game opens with a cinematic cutscene: Zirian returns home to his sister Allira with sweet treats for them to enjoy. Before the explosion, Allira seems obsessed with helping their grandfather (who passed away). The scene establishes the characters, the relationship, and the stakes. The art style and voice acting are reminiscent of Pixar or DreamWorks.
After the explosion, Zirian regains consciousness. Grab the conspicuous clock hand stuck in the nearby ground. This is the Minutero — once belonging to your grandfather. It's both your weapon and your key for the entire game.
2. Tutorial Area — Basic Mechanics
The tutorial introduces core mechanics:
- Basic Combat: Three-hit combo chains, target-swap
- Projectile Deflect: Bat enemy projectiles with timed swings
- Double Jump: Cover large gaps
- Dodge Roll: Your primary defensive tool (remember: time-freeze triggers on last-second rolls!)
- Chest Unlocking: Swing the Minutero at locked chests — no key needed
- Star Shards: Smash boxes and defeat ink creatures for currency
- Healing Potions: Find refills in the world
3. Meet Cuckoo
The tutorial area ends when you meet Cuckoo — a small, sassy clockwork bird the story implies was built by Allira. Cuckoo becomes your permanent companion, feeding the support skill tree throughout the game.
Don't think of Cuckoo as just a mascot. The bird feeds a set of support skills you unlock through trees. As you earn Upgrade Gears and collectibles, pour points into Cuckoo alongside Zirian's own abilities.
Demo Walkthrough (Part 2: Tick Town)
4. Tick Town — Hub World
After the tutorial, you arrive in Tick Town — or at least a fractured version of it. This serves as the game's hub world. Key features:
- Cloudies: Friendly, fluffy inhabitants. Talk to them for worldbuilding and clues.
- Clock Tower: A giant, imposing structure has appeared, wreathed in everlasting night. Huge chains lock down the tower.
- Teleport Pads: Unlock these for fast travel. Always activate a new pad when you find one.
- Blocked Areas: Many sections are blocked off in the demo — accessible in the full game after gaining certain upgrades.
- Time Anchor: Break Tick Town's Time Anchor (achievement: "We fixed Time, didn't we?")
Talk to every NPC. Break every box. Open every chest. Many Cloudies offer brief conversations that provide worldbuilding clues. Some hint at collectible locations or side quests (Tailord's kittens, Arpeggio's music boxes).
5. NPCs in Tick Town
| NPC | Location | Quest/Purpose |
|---|---|---|
| Cloudies | Throughout town | Worldbuilding dialogue |
| Tailord | In town | Find all their kittens (achievement: "Come Here Right Meow") |
| Arpeggio | Caves (outside town) | Music boxes quest + gives Grapple |
| Dr. Peppermint | In town | Health upgrades |
| Palette | In town | Fashion — dazzle with best outfit |
| Wally | Hidden | Find every time (achievement: "No Peeking!") |
Demo Walkthrough (Part 3: Magical Forest)
6. The Magical Forest
From Tick Town, you venture into an enchanted forest alive with danger and mystery. This is where the platforming depth kicks in:
Platforming Challenges
- Moving platforms: Clock-gear themed, rotating and shifting
- Pendulum swings: Large swinging obstacles — time your passage
- Rotating platforms: Similar to obstacle course shows — jump on, ride, jump off
- Hook points: (After getting Grapple) zip between anchor points
- Wall jump sections: Vertical climbing in narrow passages
Enemies
Strange, inky creatures appear across the forest. They burst with a satisfying splat after a few hits. Combat is fast-paced — Zirian can switch between enemies on the fly during combos, leaping across areas to smack targets. But enemies don't wait around and will quickly surround you. Liberal use of jumping and dodging is needed.
The forest enemies are the perfect practice dummies for the time-freeze dodge. Their attacks are slow and heavily telegraphed. Let one wind up, wait for the swing to almost reach you, then roll. Once you feel the freeze trigger once, the whole game clicks.
Collectibles in the Forest
- Star Shards: From boxes and enemies
- Upgrade Gears: Hidden in chests and off the main path
- Clock Heart Pieces: Look for hard-to-reach spots
- Music Boxes: Hidden for Arpeggio's quest
Demo Walkthrough (Part 4: Ancient Clocktower Ruins)
7. Descend into the Ruins
The demo's third area is an ancient clockpunk temple where time itself feels broken. This is where the game's clockpunk aesthetic truly shines — gears, mechanisms, and time-distortion effects fill the environment.
New Abilities
In the ruins, you unlock:
- Blast Attack: High-damage cone hit. Use to break cracked walls and clear groups of enemies. The knockback repositions you tactically.
- Grapple (Hook-Shot): From Arpeggio in the caves. Zip to anchor points. Immediately becomes part of both traversal and the upcoming boss fight.
Ruins Challenges
- Time-distortion puzzles (void-like echoes reveal worldbuilding clues)
- Crystal formations blocking paths — use Blast Attack
- Grapple anchor sequences — chain zip across chasms
- Gear-rotation puzzles — interact with mechanisms
Throughout the ruins, you'll find void-like echoes that reveal interesting worldbuilding and narrative clues. They envelop Zirian and Cuckoo in a cosmic bubble while active — a form of time distortion. Don't skip these — they deepen the story.
Demo Walkthrough (Part 5: Wrath Boss Fight)
8. Mount Cinder — Wrath Arena
After traversing the crystal cave system, you reach the Wrath boss arena — a wide platform surrounded by a deep drop into flowing lava below. A short cutscene sets the stage.
Wrath is an imposing sight: large gear segments attached to its arms as blades, and chains protruding from its back. It looks more like a Kingdom Hearts Heartless than any other foe you've encountered.
Treat Wrath as a movement test, not a slugfest. It lunges and slams up close, then lobs ranged shots when you back off. Face-tanking gets you flattened. Use the grapple to reach platforms and break Wrath's rhythm on charged attacks. Layer the time-freeze dodge for its telegraphed swings. Close in for damage during recovery windows.
For the full phase-by-phase Wrath strategy, see our Boss Guide.
The demo takes about 90-120 minutes to complete. Progress does NOT carry over to the full game. The demo has been holding around 91% positive on Steam across hundreds of reviews — a strong sign the feel lands for most players.
Full Game Walkthrough (Post-Launch)
Duskfade launched August 13, 2026 on all platforms. The region structure below is accurate; we're publishing detailed per-region walkthroughs as we play through. Check back regularly for updates.
Path 1 — Ezorus Forest to the Prison of the Beast
- Bosses: Wrath (Howling Geode), Guayota (Prison of the Beast)
- Theme: Volcanic — forests, crystal mines, lava
- Key NPC: Arpeggio, found in the caves (gives the Hookshot)
- Key Ability: Hookshot
- Collectibles: Star Core Fragments (Scorched Grove, Starstone Mines, Mount Cinder), Rainbow Ingots (Ezarus Forest, Mount Cinder)
- Exploration: Starstone Mines caverns, rotating flamethrower pillars, rail grinding, grapple chains
- Reward: 1,000 Star Shards from Wrath, plus the first chain broken after Guayota
Path 2 — Meridian Village, Lantern Port and Canal Hamlet
- Theme: A seaside town that descends beneath the waves, then canal country
- Key Ability: Stopwatch (from the Time Flux Channeler reached after Lantern Port)
- Collectibles: Star Core Fragments (Lantern Port), Rainbow Ingots (Meridian Village, Canal Hamlet)
- Exploration: Windmill Hookshot routes, scaffolding climbs, Cross Time Rifts behind the Stopwatch
Path 3 — The Clockwork Academy and the Great Library
- Theme: Clockmaker architecture, book stacks, scriptoriums
- Key NPCs: Tailord (help her escape the Academy), Master XII
- Collectibles: Star Core Fragments (Apprentice’s Wing, Great Library), Rainbow Ingots (Clockwork Academy)
- Exploration: Chess-piece platforming, book-pile climbs, Cross Time Rifts
Path 4 — The Celestial Kingdom and the heights
- Theme: Floating ruins, royal highroads, a golden palace
- Key Ability: Sundial (grind the rails), Crunia’s Wings (from Clockmaker’s Rest)
- Collectibles: Star Core Fragments (Celestial Kingdom, Royal Highroads, Auric Palace), Rainbow Ingots (Auric Palace, Deepthorne)
- Exploration: Rail rides, hedgerow launch pads, wall-grab routes between floating platforms
Chain Breaking Order
Each path to a chain is built from several regions, and later regions expect you to already hold the ability the previous path taught you. Follow the story order and you will always arrive with the right kit:
| Order | Path | Ability You Leave With | Why This Order |
|---|---|---|---|
| 1st | Volcano Path | Hookshot | First chain broken. The Hookshot also unlocks the blacksmith Clouphaestus. |
| 2nd | Sea Path | Stopwatch | Opens every Cross Time Rift you have been walking past. |
| 3rd | Academy Path | Timebomb (Timeflux Channeler III) | Another route into high ledges and hidden caches. |
| 4th | Sky Path | Sundial, Crunia’s Wings | Rail grinding and gliding — the two tools that open the last of the collectibles. |
After breaking each chain, return to Tick Town and previous regions with your new abilities. Many previously inaccessible areas will now be reachable, containing Rainbow Ingots, Clock Heart Pieces, and other collectibles.
Continue Exploring
← Beginner Guide
Mechanics you need before starting.
Boss Guide →
Strategies for every boss fight.
Collectibles →
What to find in each region.
Guayota Boss Guide →
How to beat Guayota in the Prison of the Beast.
Sadness Boss Guide →
Bubble shields and clock-break phase strategy.
100% Roadmap →
The fastest order to sweep every collectible.
Achievements →
All 25 Steam achievements & fastest Platinum route.
Start Here →
New to the game? Begin with the roadmap.
News & Updates →
Patches, hotfixes and version changes.